Taking Care of Hearing Aids
Hearing aid care instructions
Cleaning, Caring & Drying of Hearing Aids
Hearing aids are small, electronic devices that operate in conditions that are both warm and damp (your ear). Conditions that most electronics don't like. After making a large investment in being able to hear better, it makes a lot of sense for you to keep them in the best shape possible by cleaning and maintaining them at home.
The hearing aid manufacturers take great efforts to ensure your hearing aid will keep on keeping on. However, if you don't do your part, those hearing aids will fail. In many cases, a failure may well end up needing to be sent away for repair. This could leave you without your hearing aid for up to two weeks depending on how busy the repair centres are. This is a major hassle, in my experience people who have become used to better hearing with their hearing aids hate to be without them. It really upsets them, so the key is to maintain your hearing aids as much as possible to avoid any hassle.
If You Find The Information on This Page Helpful, Please Rate The Page
Your Ratings allow us to understand if the info we provide is helpful
Rate this article
(Rated 5 stars by 129 people)

How to avoid hearing aid repairs
Hearing aids do fail, it is a fact of life, electronic components can fail, and they certainly will with age and constant use. But you can take steps to avoid that failure for as long as possible. Those steps should be incorporated into a good daily clean and care routine. Most of the time I was in Practice, the failures I saw were receiver (loudspeaker part) or microphone failures. It was exceptionally rare to see anything else within a hearing aid fail. Both of these components are the most exposed in every hearing aid. They are the components that need daily attention. Some hearing aid types are more prone to possible failure than others, you can read about the different types of hearing aids and their pros and cons here.
Hearing Aid care and maintenance
So let's get to the meat, how can you best take care of your aids, I will discuss each type of aid and each step that needs to be taken. If I miss anything, let me know. Likewise, if you have some good tips yourself, don't hesitate to contact us. Before we move on here is some quick tips for hearing aid nirvana:
- Follow a daily routine
- Clean the hearing aids giving attention to the receivers and microphones
- Dry out your hearing aids, take a look at the seven things you need to do if your hearing aid gets wet
Quick tip:
Never use alcohol, solvents or cleaning agents on your hearing aids. Special care products for cleaning like hearing aid wipes and sprays are available and should be used.
Cleaning of hearing aids and cleaning tools
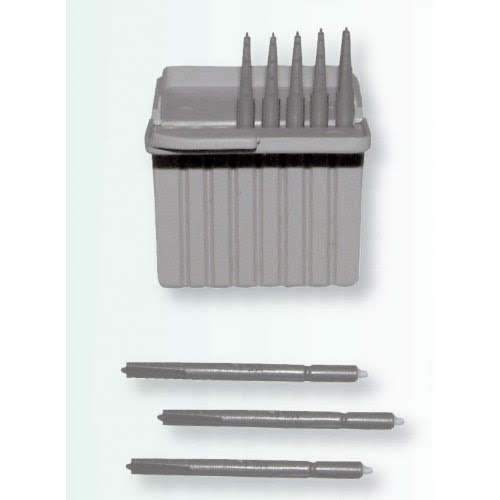
You should clean your hearing aid every day, every manufacturer supplies a cleaning kit with their hearing aids. It will usually include a wax brush, a wax pick and a cloth. These tools are designed to help you care for your aids and using them properly will help to keep your aids going.
Hearing aid manufacturers have also designed filters to protect receivers in the case of RIC and ITE hearing aids. You will also get at least one pack of these with your hearing aids. Use Them, the proper use of wax filters (sometimes called wax caps) will protect your receiver and keep it going longer.
Quick Tip:
Earwax & moisture kills hearing aids, wax guards are there for a reason, use them!
The biggest cause of failure is wax and moisture getting into the receivers or the microphones of hearing aids. If you change your wax guards when they need to be changed you can avoid much of this problem.
When do wax guards need to be changed?
I am sorry, but the honest answer is how long is a piece of string? Each person is different, I have seen Patients who only needed to replace their wax guards once every six months, I have seen other Patients that needed to change them every month. It depends on wax production in the ear canal. Generally as a rule of thumb, if your wax guard is full of wax that doesn't fall out when brushed, it is time to replace it. If you don't, that wax will eventually make it into the sound tube and then the receiver.
Protect your hearing aids from dirt and oil
Try to make sure that your fingers are clean and dry before handling your hearing aid. The microphone input is very small and can become blocked by dirt and oil from your fingers.
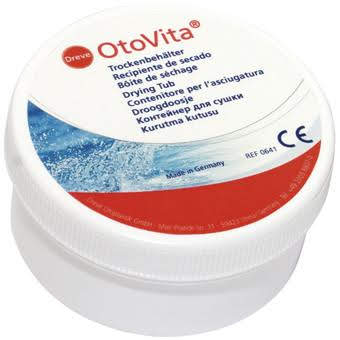
Protect your hearing aids from moisture
Moisture will kill your hearing aid, make sure you remove your hearing aids before showering bathing or swimming. When you are showering, don't leave the hearing aids in the bathroom. At night, make sure you leave the battery compartment open. It is worthwhile using a drying kit.
Keep the hearing aids away from children and pets
Make sure you keep your hearing aids out of the reach of children and pets. Hearing aids that are lying on a counter that don't have the battery door open emit a high-frequency noise that might attract dogs. You have no idea how many times I have seen hearing aids eaten by dogs.
Avoid contact with hairspray or make-up
If you use powder makeup or hairspray you should make sure that you remove your hearing aids before applying them. The fine particles of hairspray or powder make-up may clog the microphone input and volume control switch.
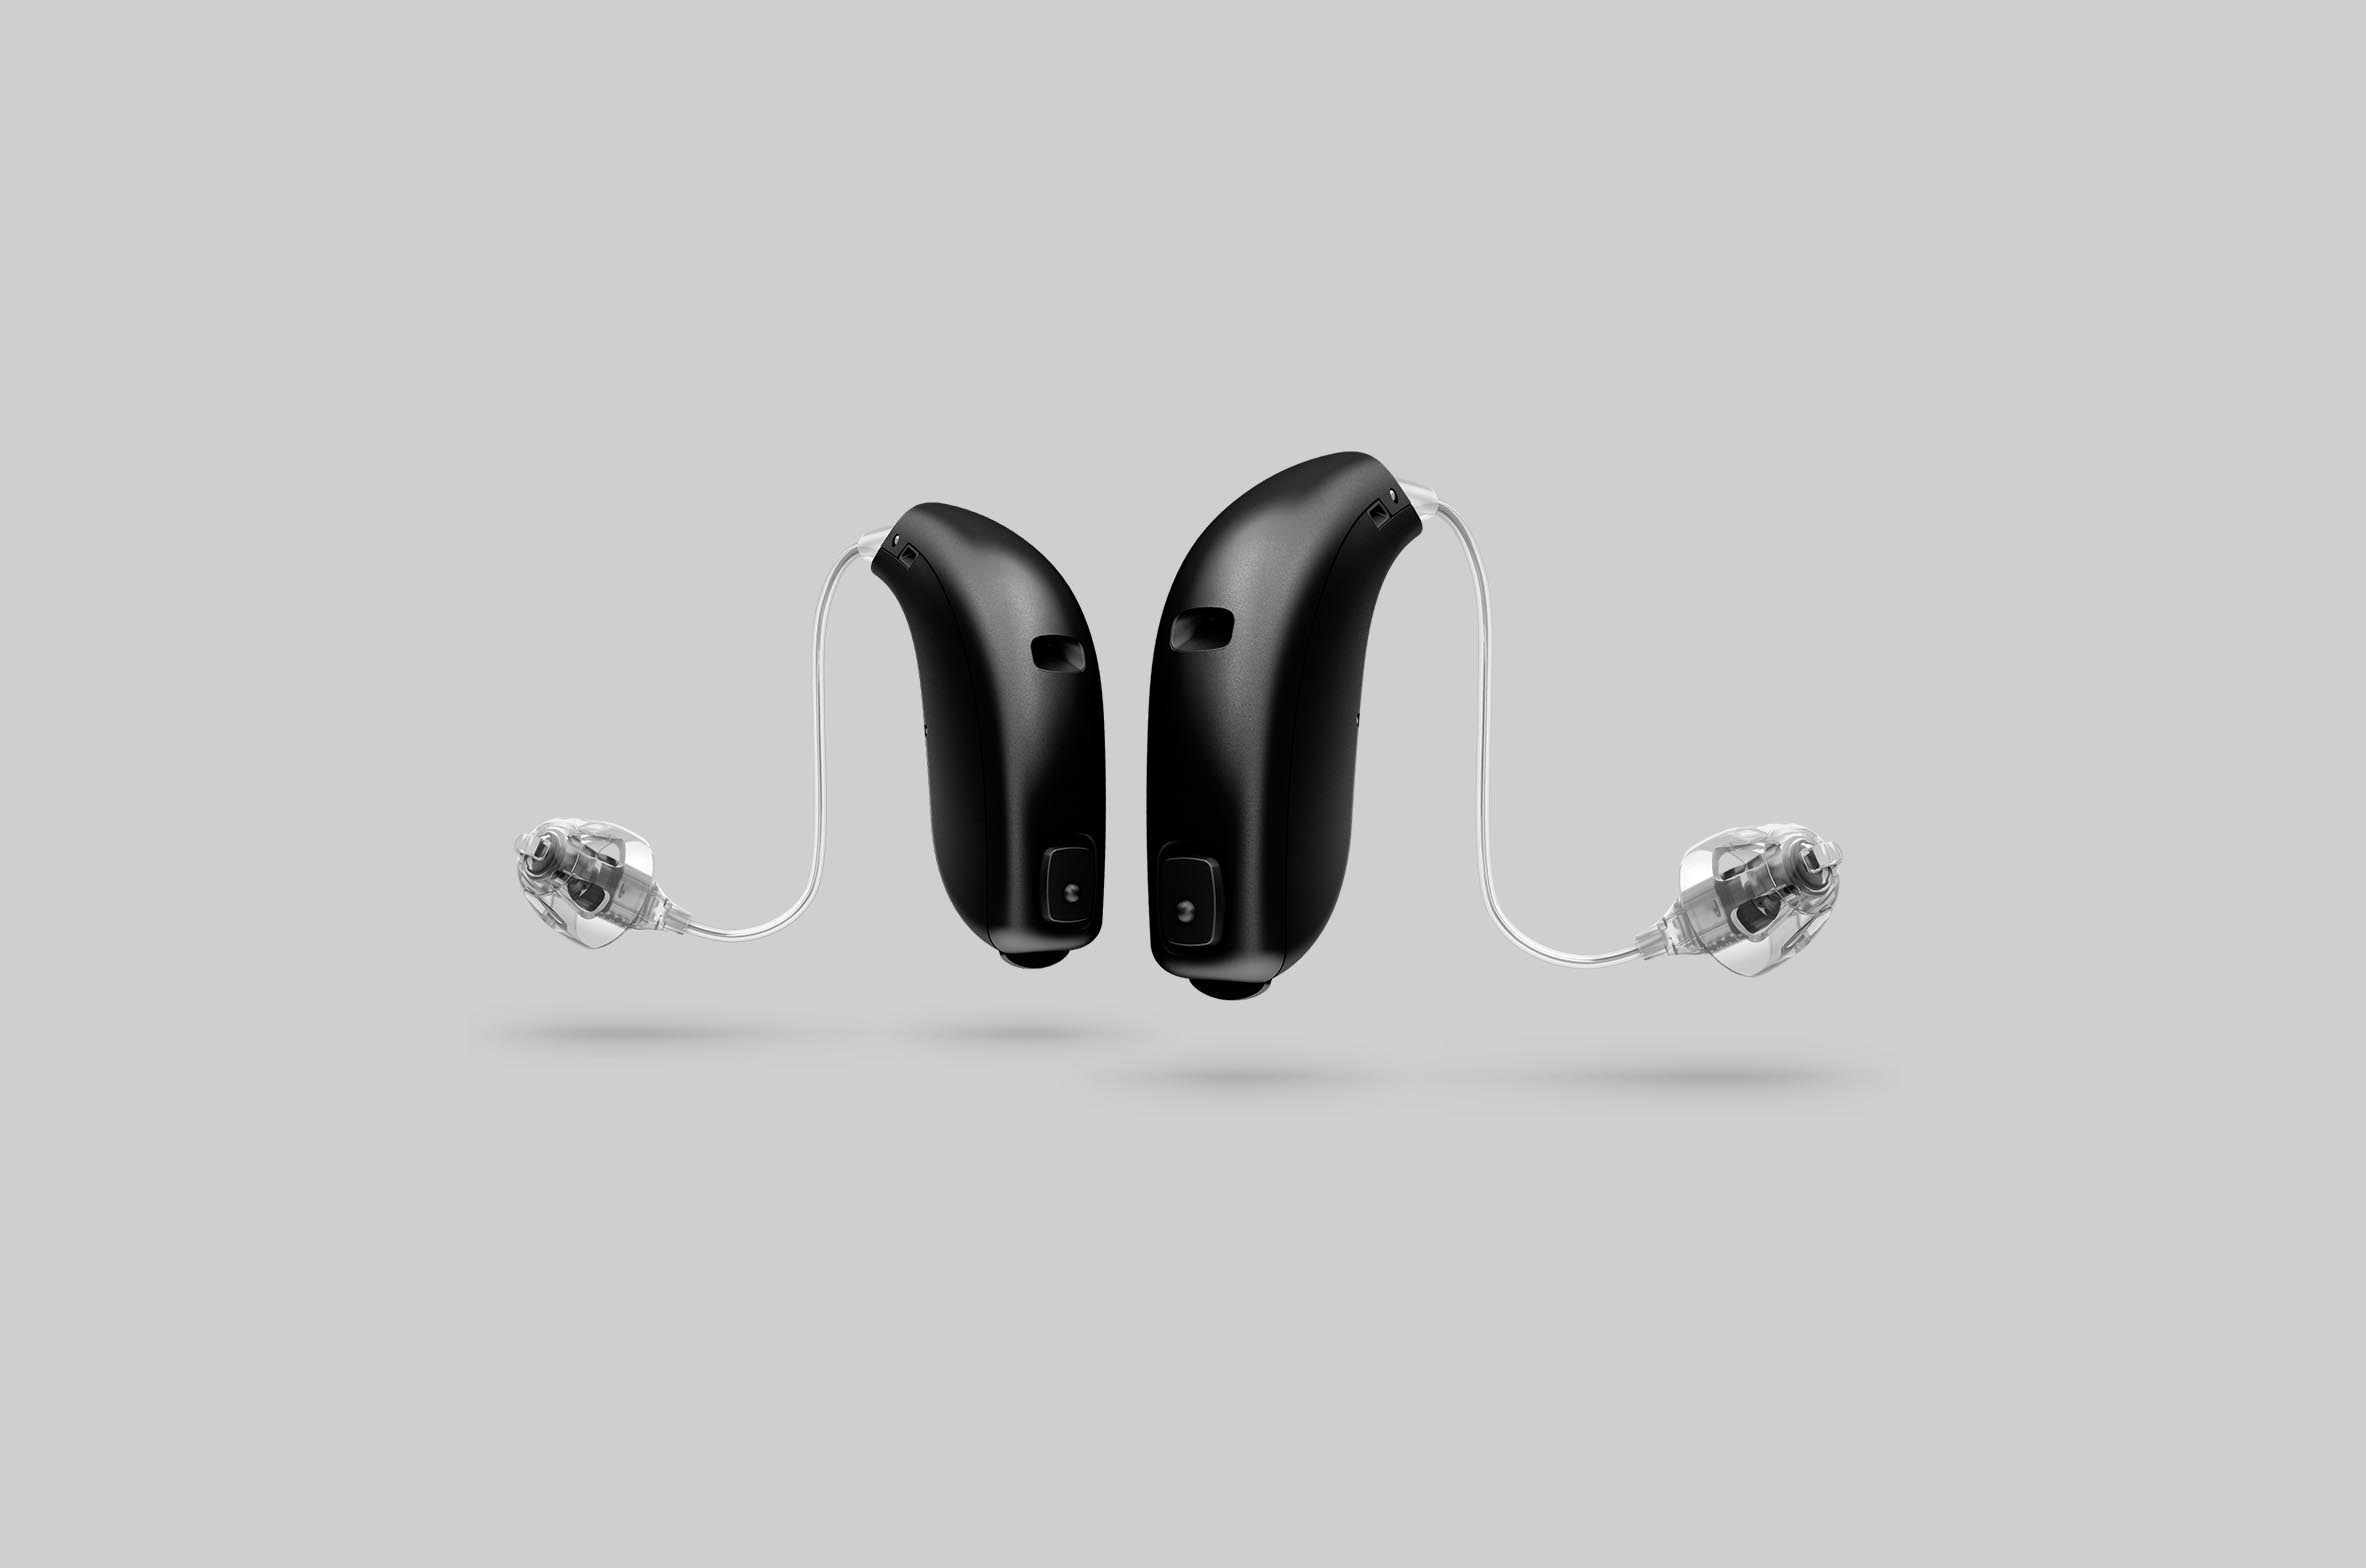
Cleaning and maintenance of an ITE and RIC hearing aid
ITE hearing aids, in particular, need daily attention, as do RIC hearing aids. The reason for this is that the receiver lives in the ear in both devices. As I said earlier, these devices are equipped with wax guards that you need to pay special attention to. So let's break down the steps you need to take and when you should take them:
Quick tip:
Many people try to clean their aid at the end of the day, I always recommended doing it in the morning after drying it overnight. That way the wax is dry and easier to remove.
ITE and RIC hearing aid maintenance checklist
- Place your hearing aids in a drying device at the end of the day, this will allow moisture to be removed from both the electronics and any wax or debris gathered on the aid.
- The next morning, have a good look at the microphone inlets and the receiver end of the hearing aids. Get yourself a magnifying glass if you need to for this. The details and placement of these areas will be in your owner's manual or your hearing professional will show you.
- Concentrate on cleaning the receiver and microphone ports using the soft-bristle brush that came with the cleaning kit. When you do it in the morning, the wax should be dried out and easy to move especially after drying out overnight.
- To clean off built-up wax, hold the hearing aid and gently clean the openings with the wax brush. The dried debris should be loose enough to be cleaned away.
- If there is still wax in the ports that hasn't been dislodged, you can use your wax pick (again, usually included in your cleaning kit) to clear more stubborn deposits out of the ports. Be careful here, don't jab the pick in, just use it gently.
- Check your battery compartment and the battery contacts for wax or debris, if there is any brush it off.
- Finish by wiping the entire hearing aid with the cloth provided. This will remove leftover debris from the hearing aid.
- Assess your wax guard, if it looks like it needs changing, change it out. If you change your wax guard when needed it will go a long way towards reducing failures.
- Lastly, give your hearing aids a good visual once-over, with ITEs, check the casing and any joins for any signs of cracks or issues. With RIC devices check the receiver wire, make sure there is no kinks or twists that may lead to the failure of the wire.
Cleaning & Maintenance of BTE hearing aids
BTE hearing aids are much harder to kill, however, you still need to clean and maintain them. Drying them is as important as it is for ITE and RIC aids. The maintenance is similar but different. So let's break down the steps you need to take and when you should take them:
Quick tip:
Drying is as important for BTEs as any other hearing aid, especially the tubes.
BTE hearing aid maintenance checklist
- Place your hearing aids in a drying device at the end of the day, this will allow moisture to be removed from both the electronics and any wax or debris gathered on the aid.
- Occasionally when needed, remove the earmold and tube (if you have one) from the hook and clean it with soapy water. If your BTE has a thin tube, remove the thin tube and use the supplied wire (like a hair-thin pipe cleaner) to push through the tube. This will remove any debris.
- Use an air blower to force water out of the tube and then place the tubing in the drying kit with your hearing aid to dry overnight.
- The next morning, have a good look at the microphone inlets of the hearing aids. again a magnifying glass can be helpful. The details and placement of these areas will be in your owner's manual or your hearing professional will show you.
- Concentrate on cleaning around the microphone ports and any other user controls like programme buttons or volume controls.Use the soft-bristle brush that came with the cleaning kit. Again, doing this in the morning is the ideal time, the wax should be dried out and easy to move especially after drying out overnight.
- To clean off built-up wax, hold the hearing aid and gently clean it with the wax brush. The dried debris should be loose enough to be cleaned away.
- If there is still wax in the ports that hasn't been dislodged, you can use your wax pick (again, usually included in your cleaning kit) to clear more stubborn deposits. Be careful here, don't jab the pick in, just use it gently.
- Check your battery compartment and the battery contacts for wax or debris, if there is any brush it off.
- Finish by wiping the entire hearing aid with the cloth provided. This will remove leftover debris from the hearing aids.
- Lastly, give your hearing aids a good visual once-over, check the casing and any joins for any signs of cracks or issues.
How to clean a hearing aid earmold
As I said earlier, sometimes you need to wash your earmould, in particular, if you have had an ear infection of any kind. It really is simple enough.
- Remove the earmold and tubing from the hearing aid
- Use warm water and mild soap to wash the earmold (you can get cleaning tablets for this purpose)
- Carefully dry it and use an earmold air blower to remove moisture from the tubing
Cleaning Tablets For Earmoulds
You can get cleaning tablets for earmolds, I wouldn't bother unless you have regular ear infections. The tablets contain an anti-bacterial which kills most germs. If you don't have ear infection problems, well then warm soapy water will suffice.
 I have spoken several times about drying out your hearing aids on this page, I should explain the process and what you can use to do it. Steve Claridge wrote an excellent post about
 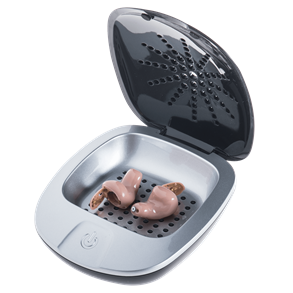 Electronic hearing aid dryers